
Why is proper HV cable installation important?
A correctly installed HV cable helps ensure optimal operation of the x-ray tube and generator. Our engineering team has put together a few tips to help with proper HV cable installation for your Canon* Aquilion CT scanner.
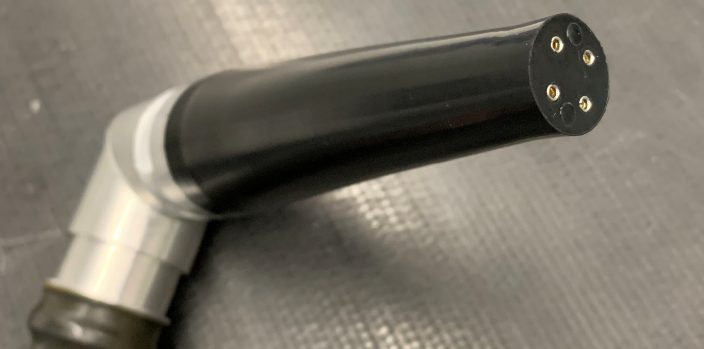
X-ray tube end
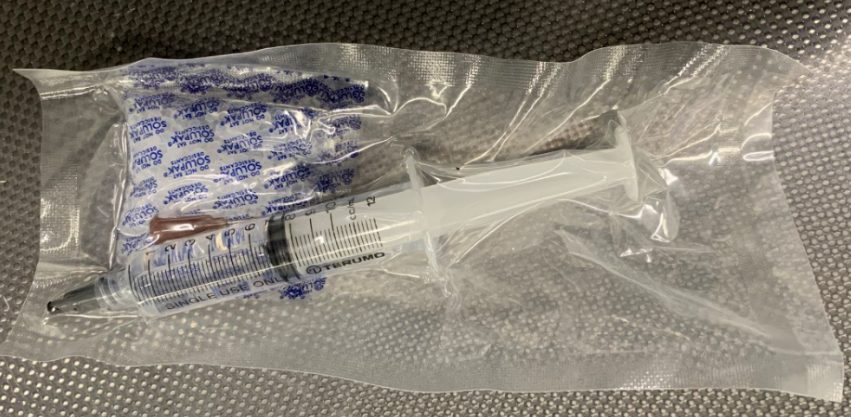
1. Use the latex gloves provided with each cable to handle the cable plug. This helps keep skin, oils, and other debris from coming into contact with the HV cable plug.
2. Thoroughly clean the HV cable plug and ceramic socket to remove any debris with Isopropyl alcohol and the included lint-free cloths. The picture below shows a clean HV cable ready to be installed into the tube socket.
3. Use a heat gun to heat the x-ray tube ceramic receptacle. The standard time is 2 minutes. This is especially important when replacing a tube that may have been shipped in a non-climate controlled vehicle in colder regions.
4. Use the supplied oil that comes with the HV cable kit to coat the tube end of the HV cable per OEM recommendations. The oil aids in the displacement of air as the HV cable plug is inserted into the socket.
5. Torque the HV cable cap to proper specs to ensure that the cable is seated properly. Consult the service manual for your machine to obtain the proper torque specifications.
Generator end
1. Use a new silicone washer when the HV cable is replaced.
2. Ensure the face of the generator and HV cable connectors have been thoroughly cleaned with lint-free cloths and Isopropyl alcohol and allowed to dry before the silicone grease is applied to the X-ray generator and HV cable connector.
3. Make sure that the aluminum center ring is installed in the silicone washer.
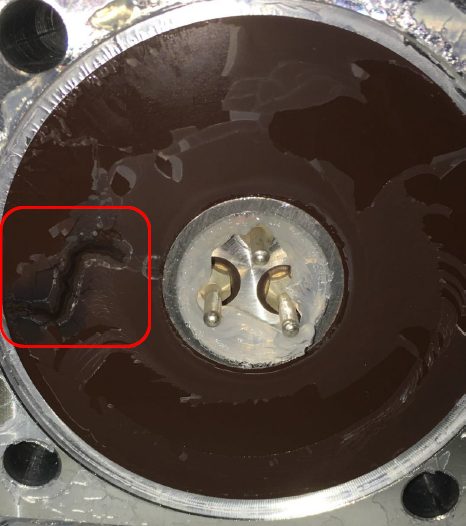
4. Use the alignment pins to connect the HV cable to the generator to guarantee proper connection to the pins. This picture shows the silicone washer, aluminum ring, and alignment pins in place and ready for the HV cable to be connected to the generator. The alignment pins should be onsite from the original installation of the CT system.

5. Tighten the bolt in a uniform manner so the connector sits flat against the generator.
Remember: any cable tie that was removed during the HV cable replacement should be replaced in the same manner as the system was shipped from the factory. It may be helpful to take pictures prior to deinstalling the old tube to serve as a reference.
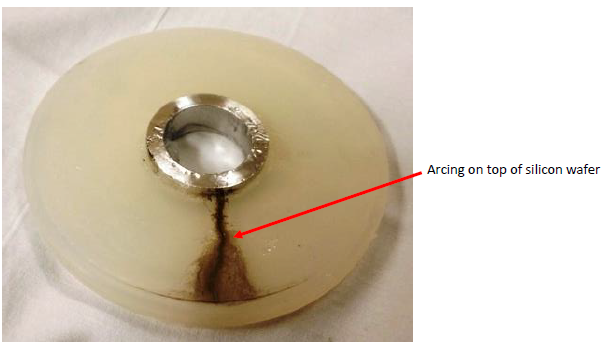
Below are two examples of arcing at the generator/HV cable connection. This arcing could be due to a defective silicone washer, dried grease, or a loose HV cable connection. Correct installation of the HV cable may help ensure system reliability and X-ray tube/generator/HV cable longevity and proper operation of the CT system.
Want to learn more or have questions? Richardson Healthcare can help address challenges with HV Cable installation. Our team is available and ready for your call. Rely on us 24/7 with our Tech Support and Parts Hotline – (704) 739-3597.
If you want to learn more, enroll in our Toshiba CT service training course today!
*All product and company names are trademarks™ or registered® trademarks of their respective holders. Use of the trademarks is solely for identification purposes and does not imply any affiliation with or endorsement by the trademark holders.


