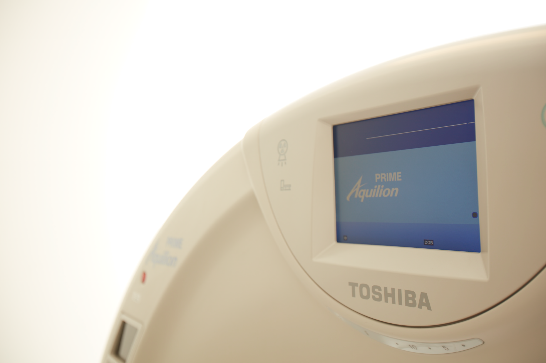
Let’s say you are the dedicated imaging specialist, and you get a call from CT. The Toshiba Aquilion PRIME system is giving a message during boot-up showing that the System Disk RAID is “Degraded” on the Display Console (D-Con). The operator said they clicked “OK” on the message and the system is working normally. Now, what do you do?
OVERVIEW
RAID status can be monitored during system boot-up. There are two RAID status displays during boot-up. The first display will be for the System Disks. The second RAID status display will be for the Image Disks.
BEGIN TROUBLESHOOTING
If the status shows “Optimal” then the RAID status is good. If it shows “Degraded” then further investigation is required.
Since both System and Image disks use two disks to create one logical device—RAID Level 1—the system will work normally with either one good System or one good Image disk. At the earliest opportunity, you should determine which disk is causing the problem.
NEXT STEPS
This procedure is for replacing only one defective system disk.
- When the message is displayed that status is “Degraded,” press CONTROL + ALT to enter into the Adaptec RAID Configuration Utility. There will be a line in the window that says, “Following SATA device(s) are not present or responding” — this could be port 0 or port 1. In this example, we will assume that Port 0 is the defective disk.
- Looking at the Host PC from the front the Scan Side or S-Con is the PC on the left. The Display Side or D-Con will be the PC on the right. Some PRIME systems only have the S-Con which would be on the right if there is only one PC. There are 4 disks in each PC. From left to right they are System Disk 0, System Disk 1, Image Disk 0, and Image Disk 1. Since we have determined that System Disk 0 on the D-Con is the defective disk, it is time to power the system down and replace the disk.
- Once this is complete, power the system up again — be ready to press CONTROL + ALT as soon as the System Disks start to boot.
- Now the system recognizes both disks but the status of the RAID still shows “Degraded.” Select Array Configuration Utility in the RAID Bios and press ENTER. Then Select Add/Delete Hot Spares from the main menu and press ENTER.
- From the new window select the disk displayed in white and press the INS
- Confirm that the new disk has been added in Assigned Hot Spares and press the ENTER
- Select Yes when prompted. Return to the Main Menu and select Manage Arrays and press ENTER.
- When the list of arrays is displayed press CONTROL + R simultaneously to start the rebuilding process.
- Rebuild takes 1.5 hours to complete. Wait until the percentage reaches 100%. The array status should now be “Optimal.”
- Press the DELETE key several times to get to the Exit Utility choice. The RAID Bios is terminated and the system reboots.
- Conduct a normal shutdown; power off the system and then restart. There is no need to perform Bios settings.
- RAID status now shows as “Optimal.”
That is a true solution.
Remember!
Richardson Healthcare wants to help you provide the best CT service possible. This is a small preview of our Toshiba Aquilion PRIME training course launching this year, expanding our Aquilion 4, 16, and 32/64 curriculum. Ask us for details!
Local Support for EMEA Service Providers: 24/7 Tech Support and Parts Hotline – +31 20 3168 700
All product and company names are trademarks™ or registered® trademarks of their respective holders. Use of the trademarks is solely for identification purposes, and does not imply any affiliation with or endorsement by the trademark holders.


